Create a User
Create user accounts to give individuals access to the solution.
You can create new user accounts individually or in bulk.
Note:
- If a new permission is required, we recommend that you create these objects before you add a user. This way you can implement administrator capabilities and data security when you create their account.
- If you create a user without permissions and publish your changes, the user will be sent a welcome email and given access to the solution. By default, the user will get access to Analyses, but they will not see any data.
- User accounts are created in the global area.
- Always use valid email addresses that your organization controls when creating users. Using fake or unverified emails is a security risk that can result in account takeovers.
Create users individually
Note: This feature is also available through Visier's public APIs. For more information, see Users API.
-
On the global navigation bar, click Tenant, and then click the Users tab.
- In the Users room, click Create User.
- In the Create a new user dialog, type the user's details and then click Create.
Note:
- To prevent users from receiving premature access to Visier, we recommend that you disable the user account while you create their account.
- If you have dynamic look-up turned on, the Employee ID will be populated automatically. For more information see, Set up Dynamic Look-Up.
- By default, the email address will also be used as the username. If you want to set a unique username, clear the Use email as username box to unlink the email and username fields.
Usernames can have up to 75 characters.
Result: The user is created and added to the list.
- Optional: Assign a profile to a user to specify what administrator capabilities they can access in Studio. For more information, see Studio Profiles.
- Assign permissions to a user to specify what data, data model elements, and capabilities they can access in the solution experience. For more information, see Assign Permissions to a User.
- To enable the user account and give users access to the solution, click the Access toggle button in the Users list.
Result: A welcome email with a password setup link is sent to the user. For more information, see Welcome Email for New Users.
Create users in bulk
To create or edit users in bulk, you will download a spreadsheet that contains a list of all the users, make changes in the spreadsheet, and then upload the spreadsheet to import the user data back to the application. For more information, see Bulk User Management.
To avoid errors, always download the latest User List before making changes. Do not reuse a spreadsheet that has already been uploaded, particularly one used to create new users, as it will lack the system-generated UUIDs necessary to identify and update existing accounts.
When creating new users in bulk, follow this best practice:
- Download the User List.
- Add new users to the User List.
- Upload the User List to generate UUIDs for the new users.
- Download a new User List to make bulk changes to existing users.
The uploaded Users List file can contain a maximum of 1000 user rows. If necessary, you can separate your changes across multiple files. The uploaded file can simply contain a list of users that you have created or updated. Removing rows will not impact existing users as the Users List cannot be used to delete user accounts.
Tip: When editing the spreadsheet:
- Do not change the column names.
- Sort the spreadsheet to quickly find users.
- Save the file in .xls, .xlsx, or .csv format.
-
On the global navigation bar, click Tenant, and then click the Users tab.
-
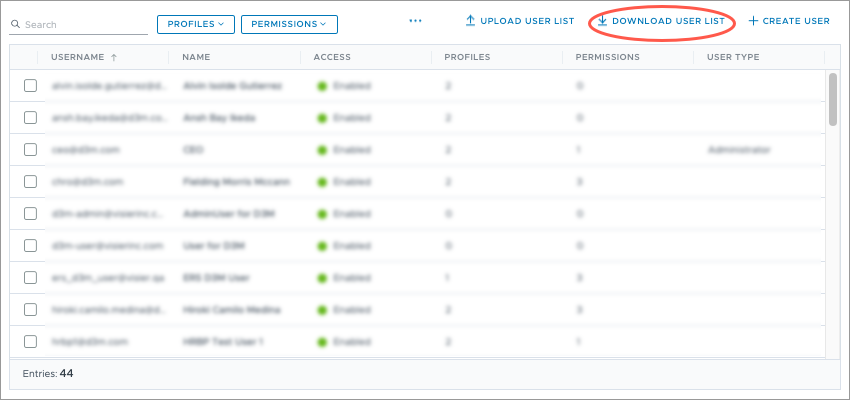
Click Download User List in the upper-right corner of the Users room to export the User List.

Result: The User List is generated as an .xlsx file and automatically begins downloading.
- Edit the User List on your computer:
- Open the file, add a new row, and fill in the columns to create a new user account.
- When finished, save the file.
- Upload the User List in Studio:
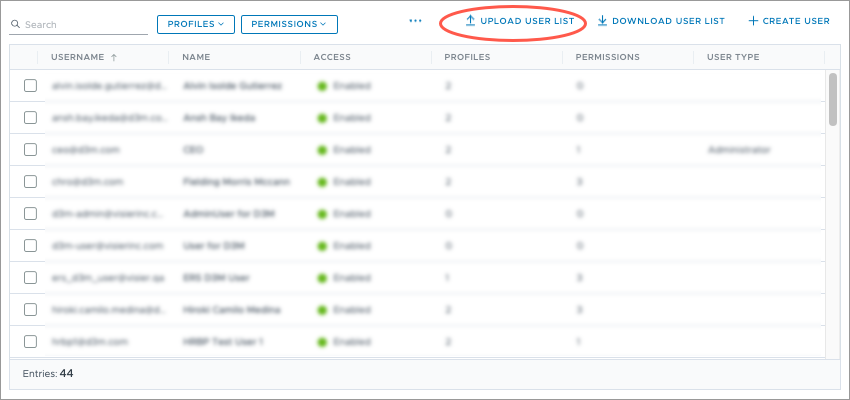
Click Upload User List in the upper-right corner of the Users room to export the User List.

- Select the file on your computer.
Result: A message appears to indicate whether your file was imported successfully. If successful, a welcome email is sent to new users. For more information, see Welcome Email for New Users.
Note: Changes to the User List are not subject to the project lifecycle and will automatically go into effect.
Use the following table as guidance when editing columns contained in the User List:
| Column | Description |
|---|---|
| Username | User's email. |
| Employee Name | User's full name. |
| Employee ID | User's unique employee ID. This column is optional and can be left blank. |
| Enabled |
Allow user to log on to the solution.
|
| Visier People |
User has access to the Visier People solution.
|
| Studio |
User has access to Studio and administrator capabilities.
|
| Profiles | User's assigned profiles. You cannot use this column to change a user's profiles. To change a user's profile assignment, see Manage the profiles assigned to a user. |
| Permissions | User's assigned permissions. You cannot use this column to change a user's permissions. To change a user's permission assignment, see Assign Permissions to a User. |
In this section
